Last week I spent some time in my friends’ studio working on replicating a natural light scene with flash. Today, I was fortunate to have the photographers from Bold Sheep Photography do two shoots for me – one with natural light and then an identical one with flash.
In addition to it being a fun day, we also confirmed some things we suspected and bumped into some things I hadn’t considered…
“That #@*&!*$ flash!” -Jaime (many, many times)
The worst thing about shooting flash is that you’re shooting flash. What I mean by that is that it’s only going to perform as well as your equipment and experience using that equipment. Sometimes things work like a dream and you don’t give it a second thought. Other times, you wonder if the frustration is worth it. Today started as a good example of that.
When I did the first test I was using a Nikon system – two SB900s, an SB800, and a SB600. I have plenty of experience with Nikon flashes and things just seemed to play well together for me that day. Problem is Jaime and Dave are Canon shooters which meant if we used my flashes we’d be climbing in and out of the flash box to adjust power settings manually instead of setting them from the camera. To work around that problem we borrowed a pile of Canon flashes and pocket wizards that would allow them to do the same thing that I was doing with Nikon’s CLS. I was setting the panel up so I’m not sure on the specific technical issues that were causing trouble, but some combination of hardware not working together, unfamiliar equipment, and dead batteries came together to create 15 minutes of head scratching and troubleshooting on why all four flashes wouldn’t fire at the same time. However, once it started working, it stayed working. Thanks to Curt for doing whatever he did to solve the issues so we could carry on with the shoot.
Working in the Dark
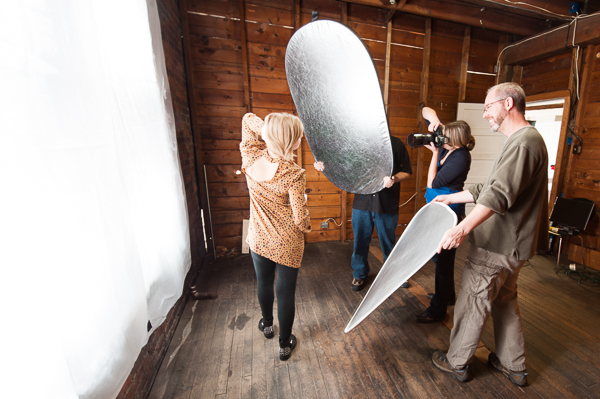
To keep things consistent with the test on Monday we put the tarp back over the window to block the incoming light. That meant working in the dark which means it’s tough to know what your reflectors are doing and your camera’s autofocus is not going to work well. This was a self-imposed obstacle because the light coming in through the window is not enough to show up at the settings being used to shoot flash. We could have foregone the tarp and worked in the light, but… SCIENCE!!! (After a while we turned on the overhead light with no ill-effect to photos.)
Effects of Increased Recycle Times
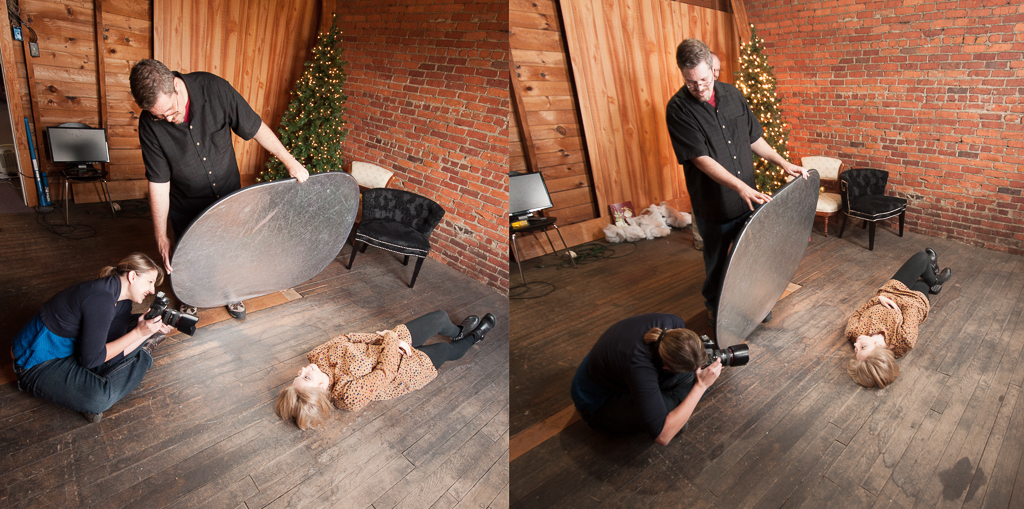
One limitation to shooting flash is the recycle time (the time it takes for the flash to charge back up and get ready to fire again.) That’s obvious and we knew it going in. What I wasn’t expecting was the effect that had on the model. In what I would best describe as a pose-click-pose-click-pose-click approach, they were able to knock out a series of great shots very quickly while working in constant light. With the flash recycle time introduced the model ended up having to hold her poses for longer periods – pose-click-pose-wait-click-pose-wait-click. I would imagine this is something that you could adjust to or solve with better gear, but I found it to be a quite interesting nonetheless.
Spurring Creativity
Heather, our gracious model, added an interesting point in our post shoot discussion. She said the flash setup made her feel more creative. Whether it was the novelty or the increased number of options that did it, I’m not sure, but it seemed like the case when they took a departure from the scheduled shoot to try using the panel as a backlight.
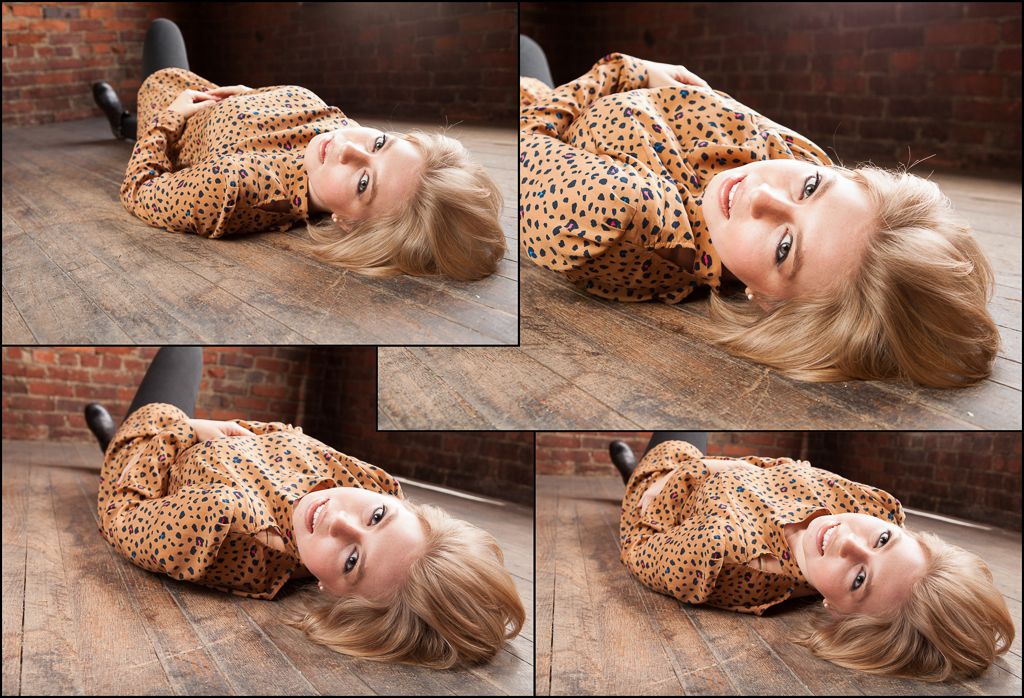
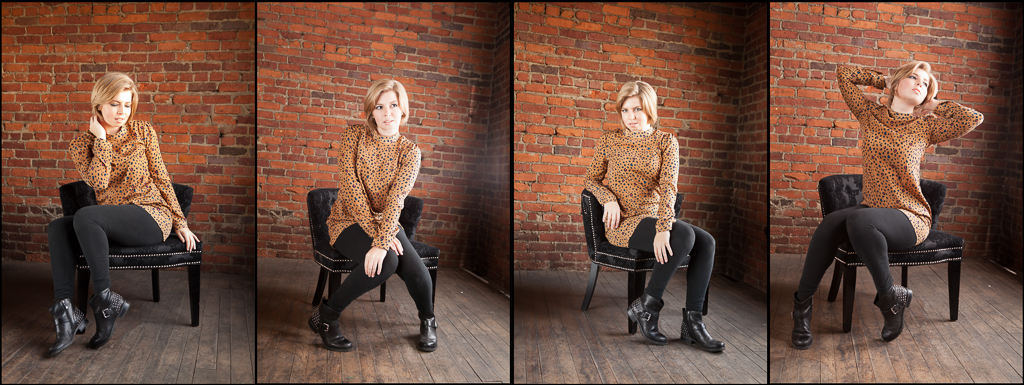
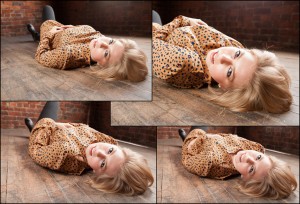
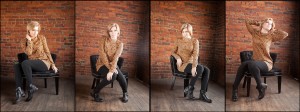
Thanks again to Jaime and Dave who did a great job shooting (as usual) and who were kind enough to provide me with the RAW files so I could pixel peep to scour for differences and also put together the above compilations.
The answers?
I’ve had a large number of guesses at which are flash and which are natural. For the most part they’ve been incorrect or partially correct. A couple of astute observers spotted things in the scene that confirmed their suspicions. Each photo has multiple tells when you know what to look for, but they’re less about how the light looks and more about the effect… pupil size, for instance.
I’m very happy overall with how this experiment turned out. As I said in the first post where I went over how I built the lightbox, the point of this wasn’t to support one side of the flash vs. natural argument. It’s to push the idea that light is just light and the more you understand how it works and how to control it, the less the source matters.
Okay, fine. The answers…


Heather I always told you that you should be a model