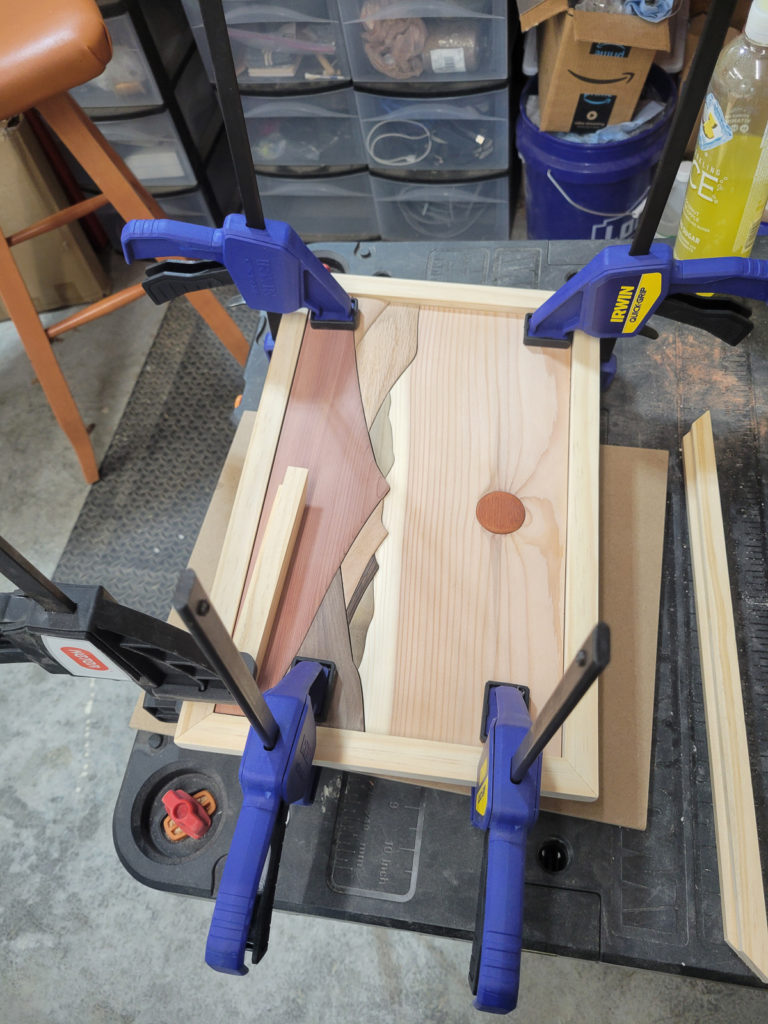
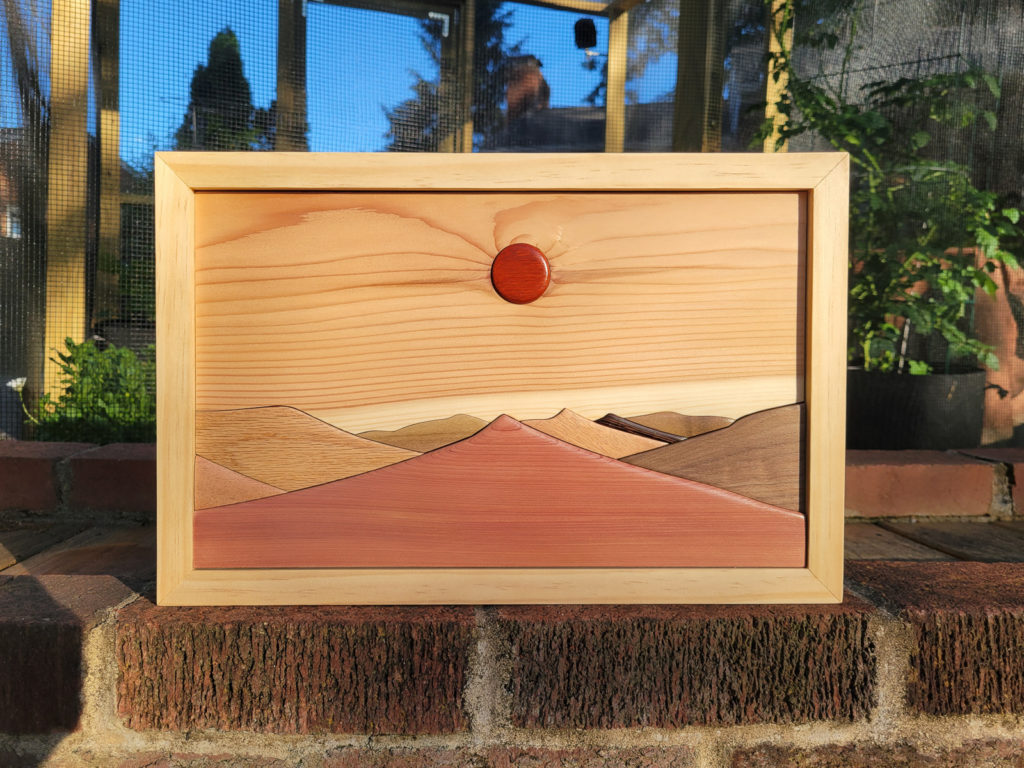
“Lands of Transition”

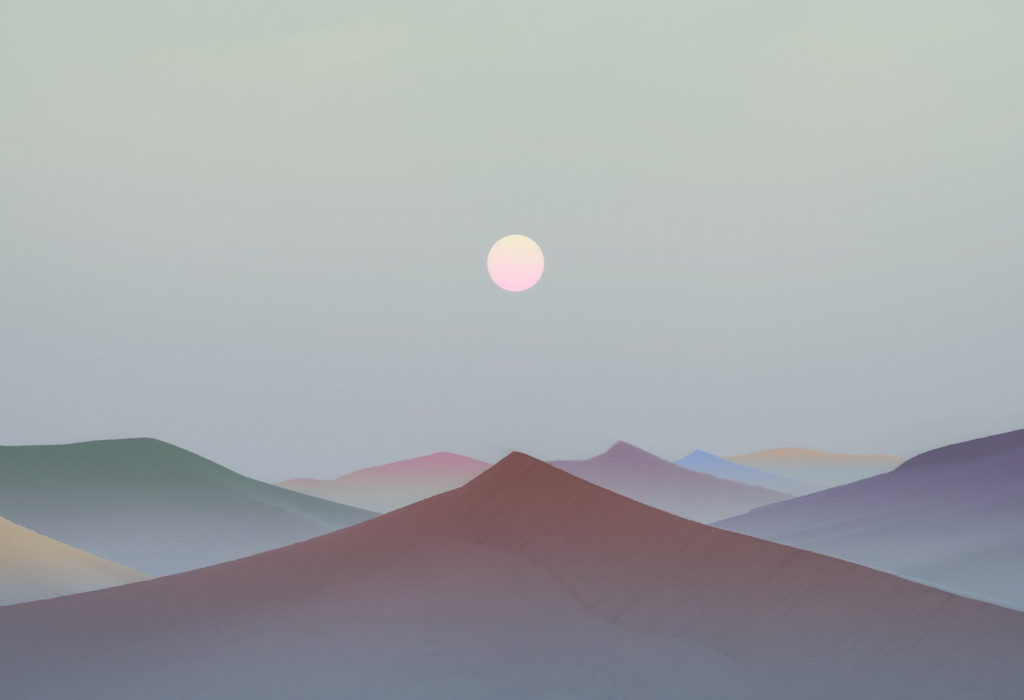
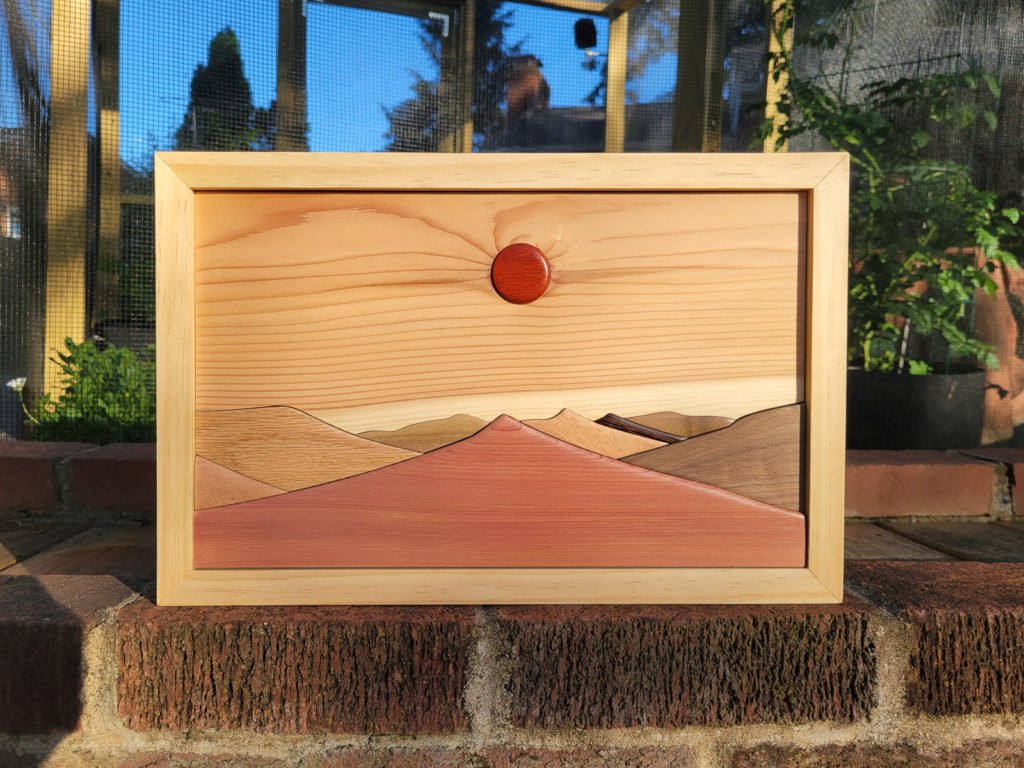
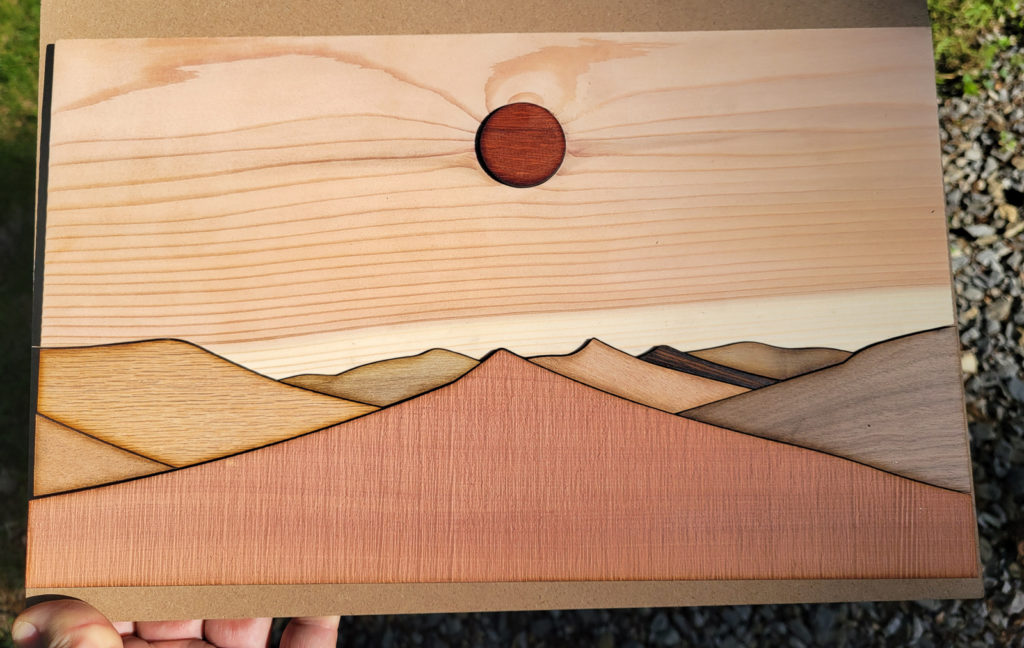
While browsing online, I came across some minimalist landscape photos that a) I liked and b) I thought might be a good candidate for intarsia. I contacted the photographer who gave me permission to use their work. (Shout out to Jerad from Away I Flew Photography.)

Posted in Intarsia, Woodworking | Leave a comment

Test

It’s been a very long time. Is this thing still on?

Posted in Intarsia, Woodworking | Leave a comment

Natural vs. Flash Follow-up: The Test Shoot

Last week I spent some time in my friends’ studio working on replicating a natural light scene with flash. Today, I was fortunate to have the photographers from Bold Sheep Photography do two shoots for me – one with natural light and then an identical one with flash.
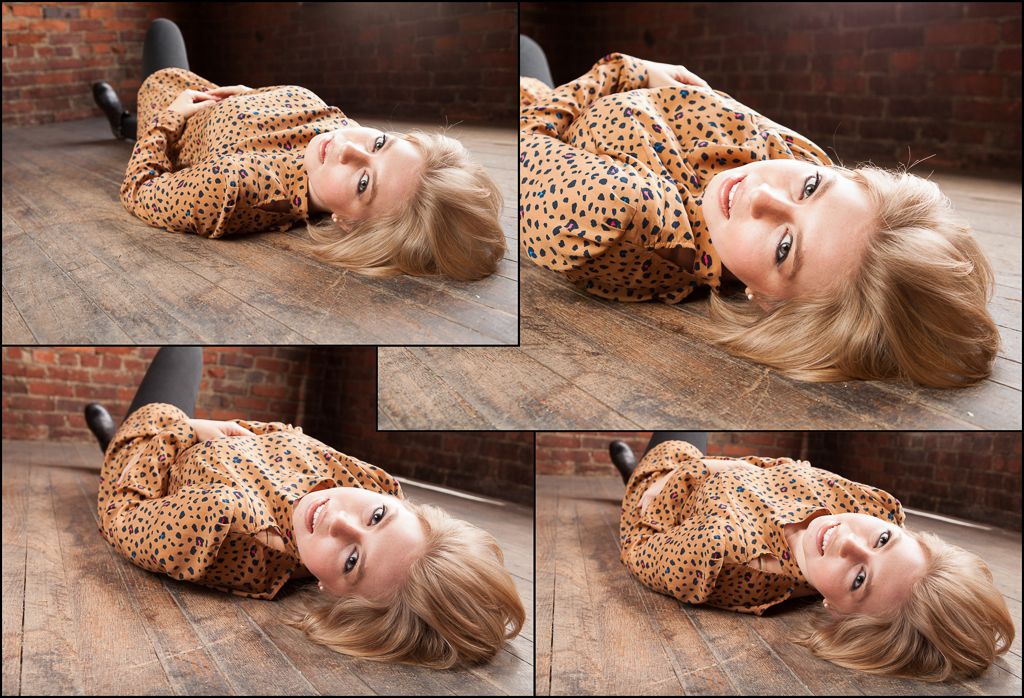
Two are flash, two are natural light. Click image to enlarge.
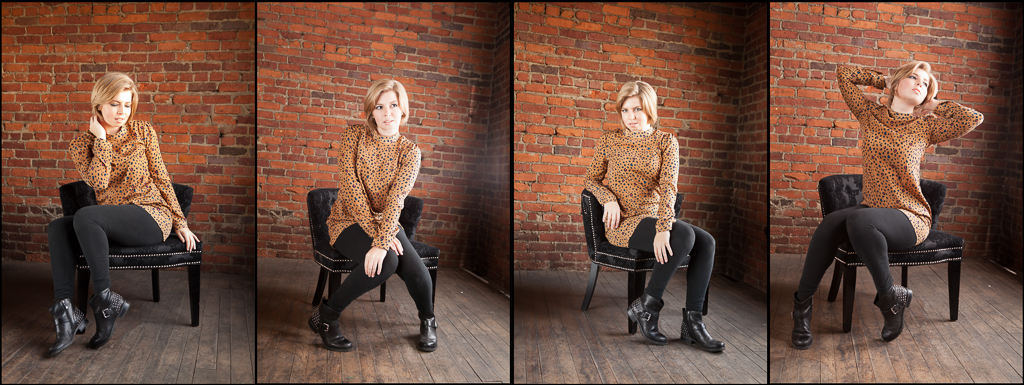
Again, two flash and two natural light. Click to image to enlarge.

In addition to it being a fun day, we also confirmed some things we suspected and bumped into some things I hadn’t considered…

“That #@*&!*$ flash!” -Jaime (many, many times)

Flash units not firing at the same time.

The worst thing about shooting flash is that you’re shooting flash. What I mean by that is that it’s only going to perform as well as your equipment and experience using that equipment. Sometimes things work like a dream and you don’t give it a second thought. Other times, you wonder if the frustration is worth it. Today started as a good example of that.

When I did the first test I was using a Nikon system – two SB900s, an SB800, and a SB600. I have plenty of experience with Nikon flashes and things just seemed to play well together for me that day. Problem is Jaime and Dave are Canon shooters which meant if we used my flashes we’d be climbing in and out of the flash box to adjust power settings manually instead of setting them from the camera. To work around that problem we borrowed a pile of Canon flashes and pocket wizards that would allow them to do the same thing that I was doing with Nikon’s CLS. I was setting the panel up so I’m not sure on the specific technical issues that were causing trouble, but some combination of hardware not working together, unfamiliar equipment, and dead batteries came together to create 15 minutes of head scratching and troubleshooting on why all four flashes wouldn’t fire at the same time. However, once it started working, it stayed working. Thanks to Curt for doing whatever he did to solve the issues so we could carry on with the shoot.

Working in the Dark

To keep things consistent with the test on Monday we put the tarp back over the window to block the incoming light. That meant working in the dark which means it’s tough to know what your reflectors are doing and your camera’s autofocus is not going to work well. This was a self-imposed obstacle because the light coming in through the window is not enough to show up at the settings being used to shoot flash. We could have foregone the tarp and worked in the light, but… SCIENCE!!! (After a while we turned on the overhead light with no ill-effect to photos.)

Effects of Increased Recycle Times

One limitation to shooting flash is the recycle time (the time it takes for the flash to charge back up and get ready to fire again.) That’s obvious and we knew it going in. What I wasn’t expecting was the effect that had on the model. In what I would best describe as a pose-click-pose-click-pose-click approach, they were able to knock out a series of great shots very quickly while working in constant light. With the flash recycle time introduced the model ended up having to hold her poses for longer periods – pose-click-pose-wait-click-pose-wait-click. I would imagine this is something that you could adjust to or solve with better gear, but I found it to be a quite interesting nonetheless.

Spurring Creativity
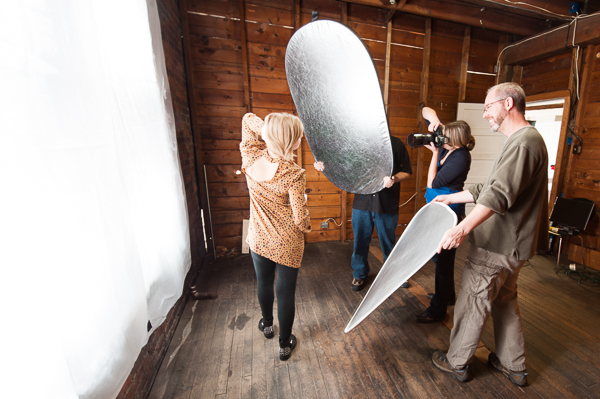
Using the flash panel as a white seamless backdrop.

Heather, our gracious model, added an interesting point in our post shoot discussion. She said the flash setup made her feel more creative. Whether it was the novelty or the increased number of options that did it, I’m not sure, but it seemed like the case when they took a departure from the scheduled shoot to try using the panel as a backlight.

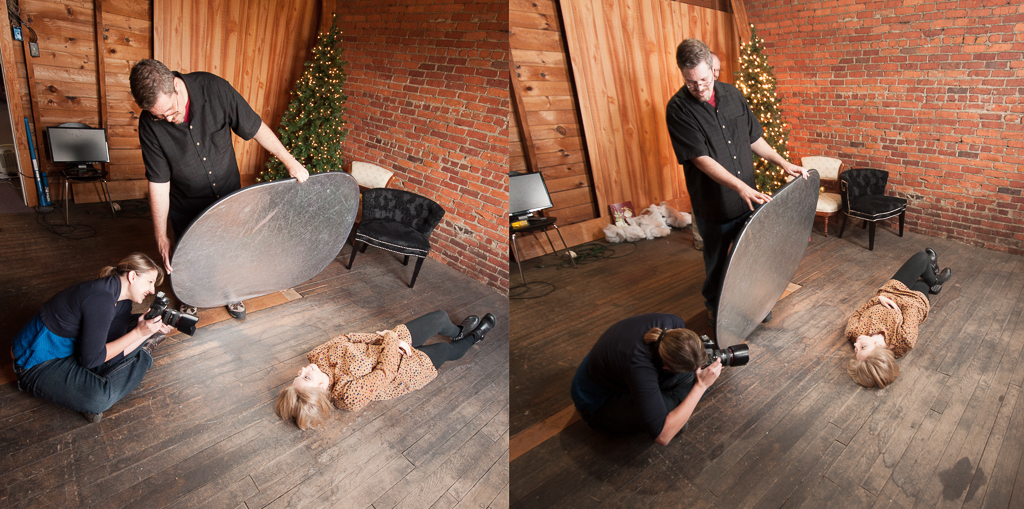
Heather


Thanks again to Jaime and Dave who did a great job shooting (as usual) and who were kind enough to provide me with the RAW files so I could pixel peep to scour for differences and also put together the above compilations.


The answers?

I’ve had a large number of guesses at which are flash and which are natural. For the most part they’ve been incorrect or partially correct. A couple of astute observers spotted things in the scene that confirmed their suspicions. Each photo has multiple tells when you know what to look for, but they’re less about how the light looks and more about the effect… pupil size, for instance.

I’m very happy overall with how this experiment turned out. As I said in the first post where I went over how I built the lightbox, the point of this wasn’t to support one side of the flash vs. natural argument. It’s to push the idea that light is just light and the more you understand how it works and how to control it, the less the source matters.


Okay, fine. The answers…
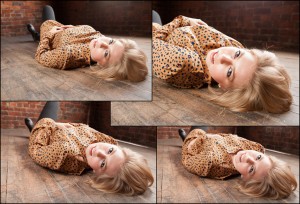
Flash: Bottom left, bottom right.
Natural: Top left, top right.
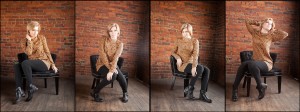
Flash: Middle-left, far right.
Natural: Far-left, middle-right.
Posted in Other Stuff | 1 Comment

A Simple Experiment of Natural Light vs. Flash

Blinding myself with science!

(The point of this write-up is not to take sides on the flash vs. natural light discussion or to pick on people who have a strong, nearly unflappable preference. It’s to point out that for the most part light is light (especially when you’re comparing flashes to sunlight.) If anything, the discussion should be about how you modify the light regardless of its source.)

I’ve seen people advertise themselves as “natural light specialists” and then go one to explain why that makes them a superior choice for your portrait work needs. It’s good marketing, I guess (just ask your non-photographer friends which kind of light is better), but the science behind it didn’t feel right. It got me thinking about what it would take to replicate that “natural light look” entirely with flash.  After some brainstorming and a few sketches I came up with an idea that made sense on paper, but to make sure I wasn’t missing something I decided to actually build it so we could test it out. Fortunately for me, my friends at Bold Sheep Photography have studio space with amazing window light and they were kind enough to let me borrow it for a day to test out my idea.

The Build

Before I began building, I spent some time trying to quantify exactly what I was trying to replicate in order to have some way to measure success or failure. I used a light meter to take readings throughout the room as well as at different spots on the windows to find out if the light was coming through evenly or if it was more intense in one spot. I also took some “before” photos to try to replicate later.

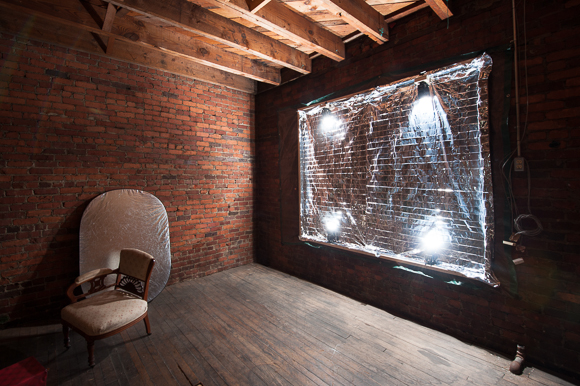
Once I had an idea of what I needed to replicate, I used a tarp to cover the window to block out the incoming light and got started. A simple wooden frame made out of 2x4s was built and attached to the existing window frame. Thin sheets of reflective material was used to line the inside. I built mounts for the speedlights and positioned them so they would land across the areas that roughly matched the existing window panes.

Four speedlights set to project lights to where the window panes would be.

The outside of the box was covered with white nylon to diffuse the light to and to better match the apparent evenness of the light that was previously coming through the window.

One half of the box complete. You can see the tarp over the window, the wooden frame, and the flashes firing through the nylon diffuser.

Very underexposed view to see the light patterns being created inside the box.

Finally I tried to put the room back like it was for the comparison shot. The camera angle isn’t exactly the same and some of the objects have moved because I needed the room to build, but here it is…

Top: Natural; Bottom: Flash;

Not bad. The main difference you can see is the way the light falls off in the upper corner of the wall nearest to the window. This is because the window being inset into the wall by 4 inches gives it a small snoot/barn door effect which could be emulated by adding small furring strips around the lightbox frame.

I had gone into this not knowing how much tweaking and repositioning and rebuilding I’d have to do. I was so pleasantly surprised at how well the first attempt worked I decided the time spent trying to get an exact match on the corners could be better spent elsewhere, so I called it done and went out for a milkshake.

Now what?

So what does all this prove? Well, not much really… but it does show that it’s possible to create one specific natural light look with flash.  At the very least what I hope it achieves is being a good demonstration of the idea that light is light and what matters is how we modify and use it.

The next step is having an one of my high-end photographer friends use it for a shoot and give me some feedback on how they think it compares. To me that’ll be the real test and I hope to have an update on for you on that next week!

And here is that update… Natural vs. Flash Follow-up: The Test Shoot


Finally, some considerations…

  • It’s not always practical to create the lighting situation you want. In my test, the setup was fairly simple – one large window in the wall of an enclosed area. More complex scenarios may require many large panels and complicated setups.
  • Natural light will not always be when and where you need it. If your ability to do portraiture work is based on a few specific hours in the day and requires certain weather conditions, then you’re setting up a huge obstacle for yourself.
  • Flash lighting can get expensive. While the light box materials only cost me roughly $30 to build, you’re seeing about $2,000 worth of strobe equipment in there to light it. And while quality flash equipment is getting more and more affordable these days, it’s still hard to beat the cost of standing someone in the shade and hitting them with light reflected from a car window sun shade.
  • Flash gives you more options to achieve your creative intent. In the before/after photos above the exposures were the same, but in order to make that happen my settings were quite different. In order to shoot at f/8 and ISO 200 I had to use a shutter speed of 1/15 in window light. With flash, I was able to shoot the same f-stop and ISO at 1/200 with only 1/4 power flash. To translate that for those that don’t speak EXIF yet, that means that I have the option of shooting both shallow or deep depth of field without worrying about my subjects being blurry or covered in noise.
  • Often, the right answer is a combination of the two. Look around at some of those photos where people are standing in front of a colorful sunset sky. If they look amazing, odds are the photographer was skilled at using fill flash in concert with the available light.

What would you add to that list?

Posted in Other Stuff | Leave a comment

Buy This

I frequently get asked about which lenses, equipment, books, etc. to buy so I’ve decided to start a list to direct people to instead of digging up the links each time I answer. (I’ll be adding more as questions are answered.)

Tripods
One of the easiest ways to waste money in photography is to buy a cheap tripod. Unless you’re spending $150 or more, you might as well be lighting that money on fire for all the good your flimsy tripod will do you. If you’re not ready to invest in a tripod, hold onto your money until you are. When you’re ready, these are the ones to look at:

Lenses

Accessories/Cleaning

  • LensPEN Lens Cleaning System $8 – Handy lens cleaner. Brush gets rid of dust and special pad removes smudges.
  • Sensor Swab Plus Type 3 w/ Eclipse (4pk) $18 – This is what I use to clean my camera’s sensor (it’s not as scary as people have told you it is.) Easy to use and premoistened with exactly the right amount of cleaner. There are different sizes for different camera sensors, so check the reference to be sure you’re getting the right size for your camera (if you have a crop sensor you probably want this one.) Some of the reviews make it sound like a bad product, but my experience has been completely opposite. Easy to use, great results, and about a tenth of the cost of paying someone else to clean it for you.

Color Management


Books

Software
Lightroom is the software for you to manage, edit, print, and share your photos.


Full disclosure: if you buy something through one of these links I’ll get between a 4-10% kickback. I won’t be upset if you don’t buy through these links, but I’ll be very appreciative if you do.

Posted in Photo Equipment Reviews | 1 Comment